Editor’s note: In this eight-part series, interior design experts and twins sisters Heidi Andrews and Heather Fujikawa (from UPtv’s “Design Twins”) will bring you simple tips to make your living space more joyful this Christmas.
OTHER BLOGS: Episode 1 | Episode 2 | Episode 3 | Episode 4 | Episode 5 | Episode 7 | Episode 8
Episode 6: DIY Ornaments
Don’t you just love Christmastime? It’s a time for family experiences and traditions to help loved ones focus on the beautiful spirit of Christmas. A tradition that we’ve done since my oldest was about age two is homemade ornaments — and it is changing from season to season. This year, I was able to select a few different options that work for almost any child. To spend time creating is one of my favorite things to do with my girls. I hope you find joy in creating with your families too!
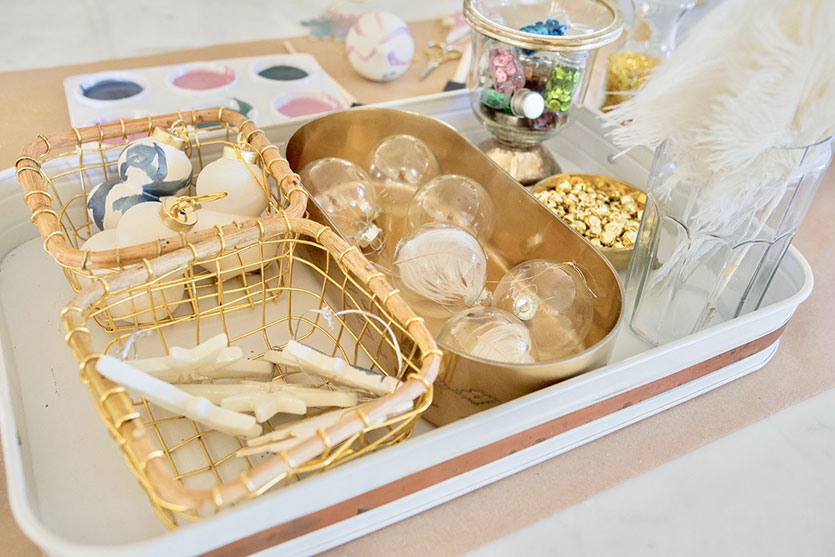
For this project you will need the following:
- Ceramic, wood, or clear ornaments of different shapes and sizes.
- Paint
- Paint Brushes
- Feather Plumes
Find the color palette you would like to use. It could be pastels or jewel tones or whatever holiday assembly you would like. PPG Paints in metallic tones are great options for this.
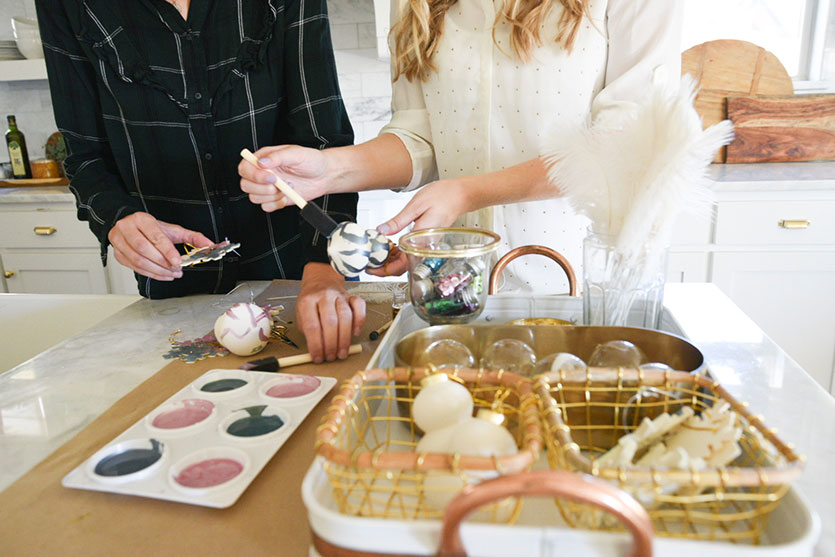
Abstract Ornament
Use a paper plate or plastic segmented palette
Dip the tip of your brush in chosen color
Make long, circular brush strokes up the ornament till you achieve the desired design results
Feather-Tipped Ornaments
Cut feather to fit inside of glass ornament
Remove the top of the ornament
Place the feather in the glass ball and replace the top, sometimes it is useful to use a toothpick or something else that is small to push the feather into the glass ball.
Child-Inspired Ornament
Choose any desired ornament
Let the child choose the ornament
Have the child pick and alternate the desired colors for the ornament. Let them go for it!
Thanks to our partners Oriental Trading and PPG Paints.